Vasudeva Server maintains over 100 non-profit websites with information on many inspiring fields of human endeavour – meditation, spirituality, humanitarian work, peace initiatives, art, music, poetry and athletics.
Many of the websites are related to Sri Chinmoy, the late meditation teacher and philosopher, and to the Sri Chinmoy Centre, which was set up by Sri Chinmoy to facilitate the personal development of his students and to serve the world community at large.
Examples of the work of Vasudeva Server
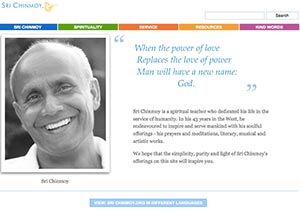
– The official complete source for information about Sri Chinmoy
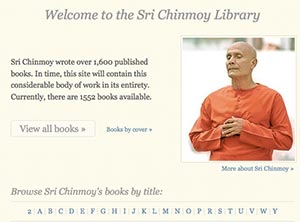 Sri Chinmoy Library.com
– An online collection of Sri Chinmoy’s writings, with over 1,550 books freely available for viewers to browse.

Learn to Meditate
– Meditation sites in over 30 countries offering people the opportunity to learn how to meditate for free. We now provide hosting for over 80 cities around the world, e.g. San Diego, New York, London and Ottawa
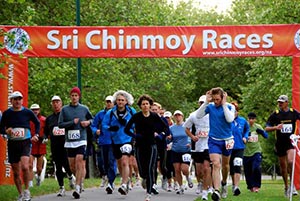 Sri Chinmoy Marathon Team
Serving the running community since 1979. The Sri Chinmoy Marathon Team sponsor events all over the world. From 2 mile races to the Self-Transcendence 3100 mile race
Archiving
 Archiving the works of Sri Chinmoy
A goal of Vasudeva Server is to archive, catalogue and preserve the original works and teachings of Sri Chinmoy. This includes printing re-prints of original first edition works.
See: Ganapati Press page
Legacy of Sri Chinmoy
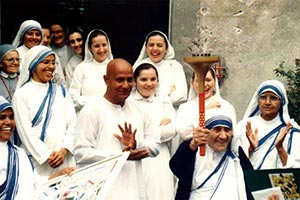 Sri Chinmoy Oneness-Home Peace Run
The Peace Run is a global torch relay that promotes international friendship and understanding. The Sri Chinmoy Oneness-Home Peace Run has visited over 150 countries around the world.
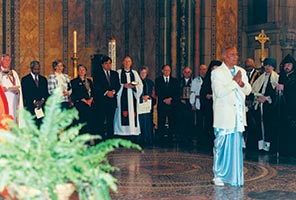 Interfaith Service
Sri Chinmoy worked with leaders from other world religions to promote understanding, tolerance and a feeling of mutual oneness. Sri Chinmoy taught the underlying unity of different religious and spiritual approaches to life.
See: Interfaith page
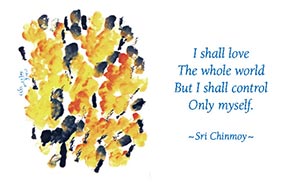
Inspiration